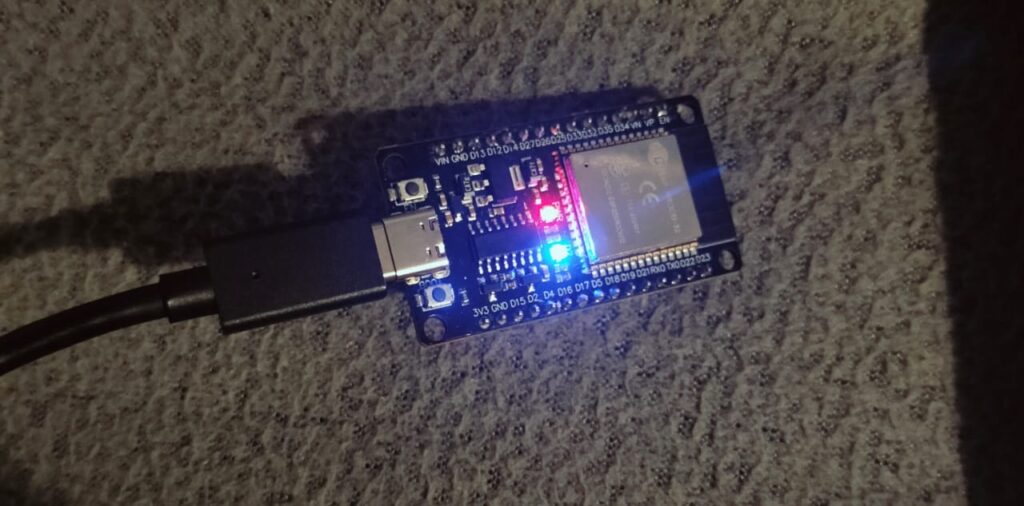
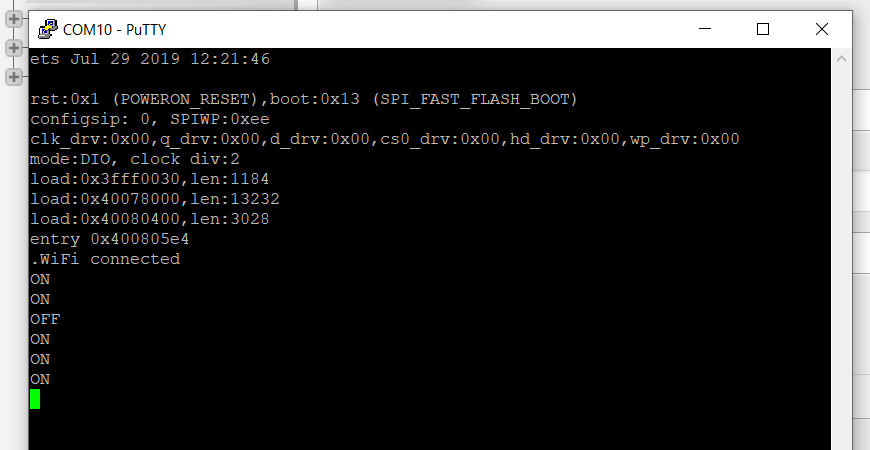
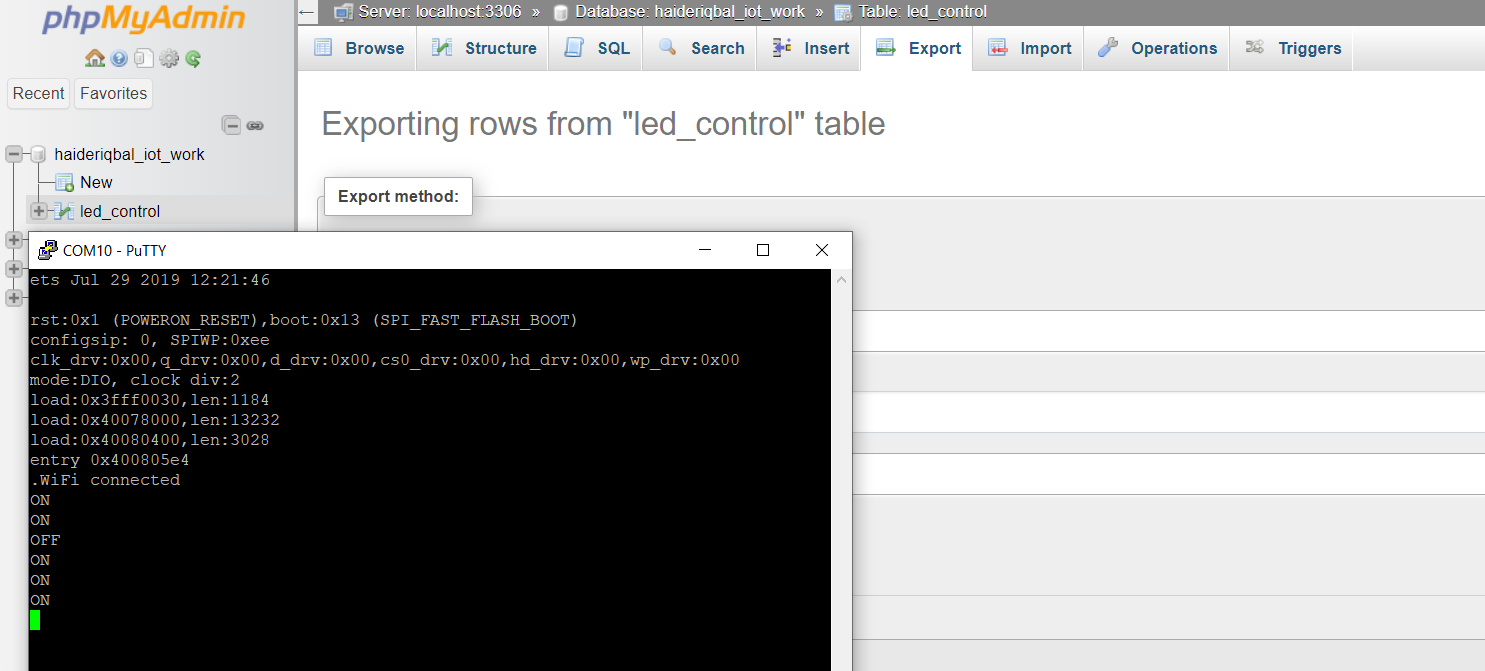
Controlling ESP32 LED with PHP and MySQL Web Server
In this comprehensive tutorial, you’ll learn how to control an LED connected to an ESP32 microcontroller using a web interface. This project utilizes a web server to interact with the ESP32, allowing you to turn the LED on and off remotely. We’ll guide you through setting up a MySQL database using phpMyAdmin, which will store the LED’s state. The web server, powered by PHP scripts, will handle HTTP requests to update and retrieve the LED status. By the end of this guide, you’ll have a fully functional system that demonstrates the integration of ESP32 with PHP, MySQL, and phpMyAdmin, providing a practical example of IoT (Internet of Things) implementation.
1. Introduction
- Explain the project goal: Control an LED connected to an ESP32 via a web interface.
- Briefly mention the components: ESP32, PHP, MySQL, HTML.
2. uC ESP32 Program
- Connect to WiFi
- Send HTTP requests to check LED state
- Control the GPIO pin based on the server response
- Provide the complete ESP32 code with explanations
3. PHP Program
- Handle GET requests to return the LED state
- Handle POST requests to update the LED state
- Connect to the MySQL database
- Provide the complete PHP code with explanations
4. HTML Program
- Create buttons to control the LED
- Send POST requests using JavaScript
- Provide the complete HTML code with explanations
5. Setting Up the Database
- Brief overview of creating the database and table
- SQL commands to create and initialize the database
uC ESP32 Code
The ESP32 will connect to your WiFi, and it will be able to send and receive HTTP requests. We’ll use the WiFi and HTTPClient libraries.
#include <WiFi.h>
#include <HTTPClient.h>

// Replace with your network credentials
const char* ssid = "your_SSID";
const char* password = "your_PASSWORD";

// Your server address
const char* serverName = "http://yourdomain.com/led_control.php";

// Pin where the LED is connected
const int ledPin = 2;

void setup() {
  // Initialize the Serial Monitor
  Serial.begin(115200);

  // Initialize the LED pin as an output
  pinMode(ledPin, OUTPUT);
  digitalWrite(ledPin, LOW);

  // Connect to Wi-Fi
  WiFi.begin(ssid, password);
  Serial.print("Connecting to WiFi ..");
  while (WiFi.status() != WL_CONNECTED) {
    delay(1000);
    Serial.print(".");
  }
  Serial.println("Connected to the WiFi network");

  // Initial state check
  checkLEDState();
}

void loop() {
  // Periodically check the LED state
  delay(5000);
  checkLEDState();
}

void checkLEDState() {
  if (WiFi.status() == WL_CONNECTED) {
    HTTPClient http;
    http.begin(serverName);
    int httpCode = http.GET();

    if (httpCode > 0) {
      String payload = http.getString();
      Serial.println(payload);

      if (payload == "ON") {
        digitalWrite(ledPin, HIGH);
      } else if (payload == "OFF") {
        digitalWrite(ledPin, LOW);
      }
    } else {
      Serial.println("Error on HTTP request");
    }
    http.end();
  }
}

PHP Code
The PHP script will handle the requests to turn the LED on and off. It will read the current state from the database and return it
<?php
$servername = "localhost";
$username = "your_username";
$password = "your_password";
$dbname = "your_database";

// Create connection
$conn = new mysqli($servername, $username, $password, $dbname);

// Check connection
if ($conn->connect_error) {
    die("Connection failed: " . $conn->connect_error);
}

if ($_SERVER['REQUEST_METHOD'] === 'POST') {
    $state = $_POST['state'];
    $sql = "UPDATE led_control SET state='$state' WHERE id=1";
    if ($conn->query($sql) === TRUE) {
        echo "Record updated successfully";
    } else {
        echo "Error updating record: " . $conn->error;
    }
} else {
    $sql = "SELECT state FROM led_control WHERE id=1";
    $result = $conn->query($sql);

    if ($result->num_rows > 0) {
        while($row = $result->fetch_assoc()) {
            echo $row["state"];
        }
    } else {
        echo "0 results";
    }
}
$conn->close();
?>
HTML Code
This HTML page will allow you to control the LED by sending POST requests to the PHP script
<!DOCTYPE html>
<html>
<head>
    <title>ESP32 LED Control</title>
</head>
<body>
    <h1>ESP32 LED Control</h1>
    <button onclick="sendRequest('ON')">Turn On</button>
    <button onclick="sendRequest('OFF')">Turn Off</button>

    <script>
        function sendRequest(state) {
            var xhr = new XMLHttpRequest();
            xhr.open("POST", "led_control.php", true);
            xhr.setRequestHeader("Content-Type", "application/x-www-form-urlencoded");
            xhr.onreadystatechange = function () {
                if (xhr.readyState === 4 && xhr.status === 200) {
                    alert("LED state updated to " + state);
                }
            };
            var data = "state=" + state;
            xhr.send(data);
        }
    </script>
</body>
</html>
Create a Database
You need to create a database and a table to store the LED state. Here’s a brief overview:
- Create a Database: Use PHPMyAdmin or any MySQL client.
CREATE DATABASE your_database;
- Create a Table:
CREATE TABLE led_control (
    id INT(6) UNSIGNED AUTO_INCREMENT PRIMARY KEY,
    state VARCHAR(3) NOT NULL
);
- Insert Initial State:
INSERT INTO led_control (state) VALUES ('OFF');
Conclusion
By following these steps, you should be able to control an LED connected to an ESP32 from a web interface. The ESP32 code handles WiFi and HTTP communication, the PHP script manages database interactions, and the HTML provides a simple user interface.

Hi, If you face any issue you can simply write an email : [email protected]

